


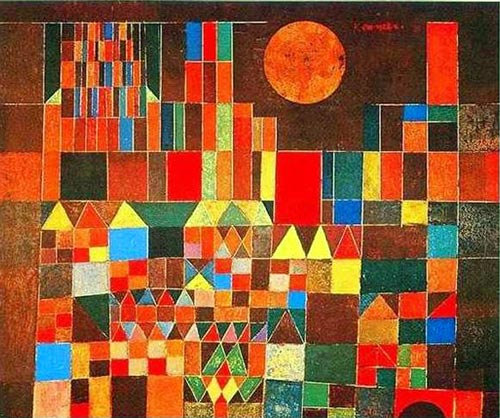
Two fifth grade classes looked at few of Paul Klee's paintings done with block colors and a self-portrait. We talked about the paintings a bit and how Klee used color to express himself, his emotions and ideas. We also examined this project as illustrated on the following two web sites:
Two links where I found this project:
--http://thetalkingwallsmurals.blogspot.com/2013/01/paul-klee-inspired-self-portrait-lesson.html
--http://www.teachkidsart.net/self-portrait-workshop-paul-klee/
Five links to sample Paul Klee works:
--http://en.wikipedia.org/wiki/Paul_Klee#mediaviewer/File:Paul_Klee_1911.jpg
--http://en.wikipedia.org/wiki/Paul_Klee#mediaviewer/File:Red_Balloon.JPG
--http://arteascuola.com/wp-content/uploads/2012/04/08-00571.jpg
--http://en.wikipedia.org/wiki/Paul_Klee#mediaviewer/File:Paul_Klee,_In_den_Häusern_von_St._Germain.jpg
--http://en.wikipedia.org/wiki/Paul_Klee#mediaviewer/File:Senecio2.JPG
Self-portrait lesson:
I drew a large face divided into halves and fourths, talked about how each eye is 1/5 of the width of your face, the nose is 1/5 wide, sides of mouth end below pupils, ears are same length as between eyes and bottom of nose, etc.
Similar, but more realistic, to this link:
http://kiokreations.com/wp-content/uploads/2011/02/How-to-draw-face.jpg
How to:
Then I showed them how to draw a face with the correct proportions and let them use their small whiteboards and erasable markers to practice face shape, features and proportions, while I drew on the large whiteboard. Then we moved to watercolor paper and pencils and mirrors, to sketch themselves with simple lines. Students traced their pencil lines with a black Sharpie, then choose 12 pre-cut tissue paper squares to place in a grid on their drawing. The teachers and I misted the artwork with water from spray bottles. Students used paintbrushes to smooth the paper down and spread the water evenly. They could remove the tissue paper within a couple minutes, or leave the tissue paper to dry, at which point it falls off or is easily loosened. Done! I purchased Spectra tissue paper that is supposed to allow the colors to "bleed" in a watercolor effect, and cut the squares with a sliding paper cutter.
Materials: watercolor paper, pencils, mirrors, Sharpies, tissue paper that "bleeds."
Time: 1+ hour, but could be adjusted depending on time available. Could do less instruction time on Paul Klee and/or on how to draw a face.
No comments:
Post a Comment